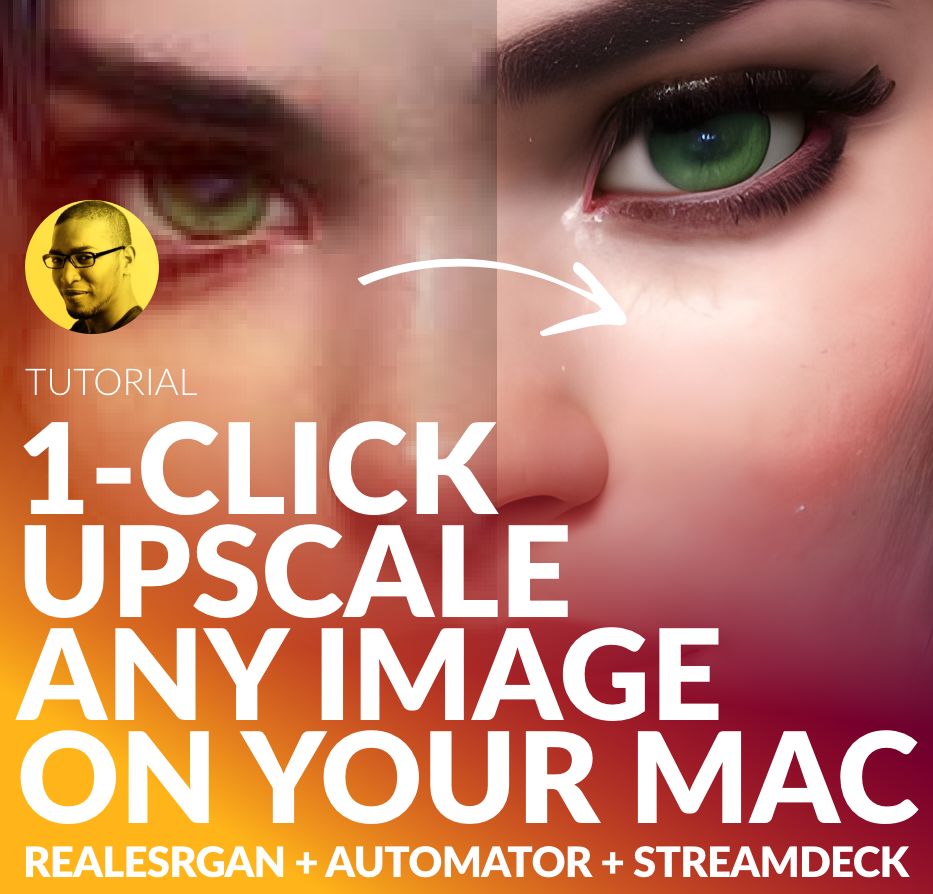
Jacques Alomo has outdone himself again and put together a great resource tut on getting a 1 click upscaler to work on all your images. He is one of the trailblazers in creating up to date and concise tutorials and posts on Ai breaking news and the industry in general bringing a successful career in animation and motion graphics into the generative Ai space.
Lets get to it!
✅ Phase 1 - Installation
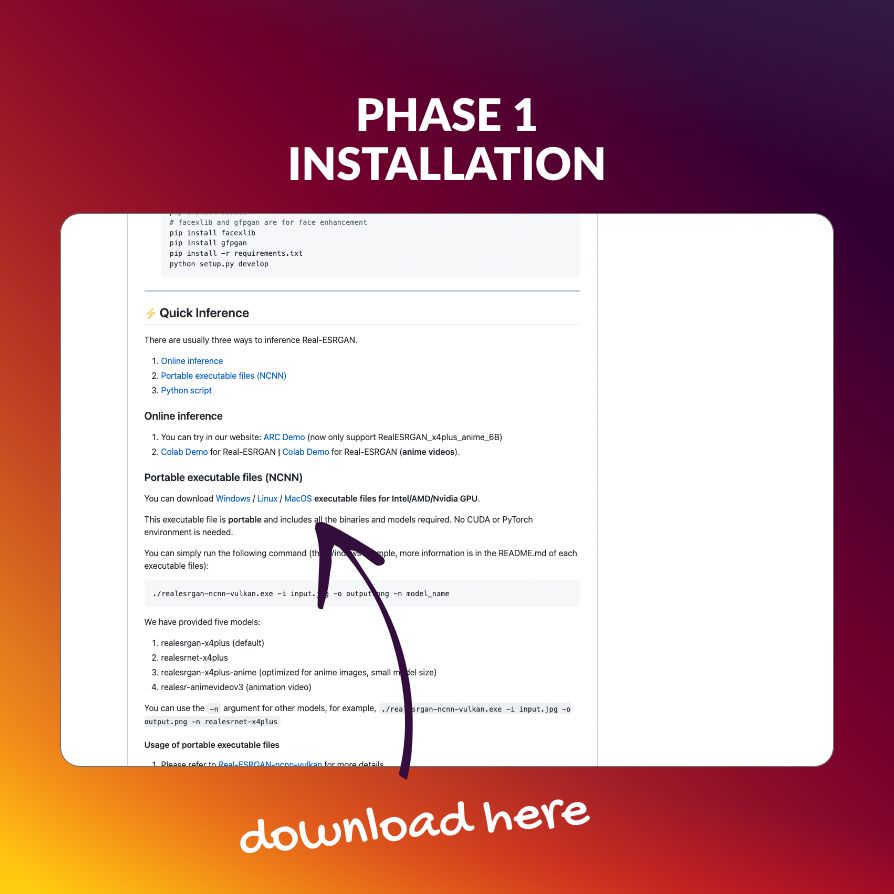
👉 First you need to download the executable from https://lnkd.in/ehiUT2qgThe direct link for Mac would be https://lnkd.in/eFTxa_aq but I advise you to head over to the first link and just scroll down / search for 'MacOS' (CMD+F). That way you will download the latest version.
This executable file is portable and includes all the binaries and models required. No CUDA or PyTorch environment is needed.
Just export the zip to your desired folder
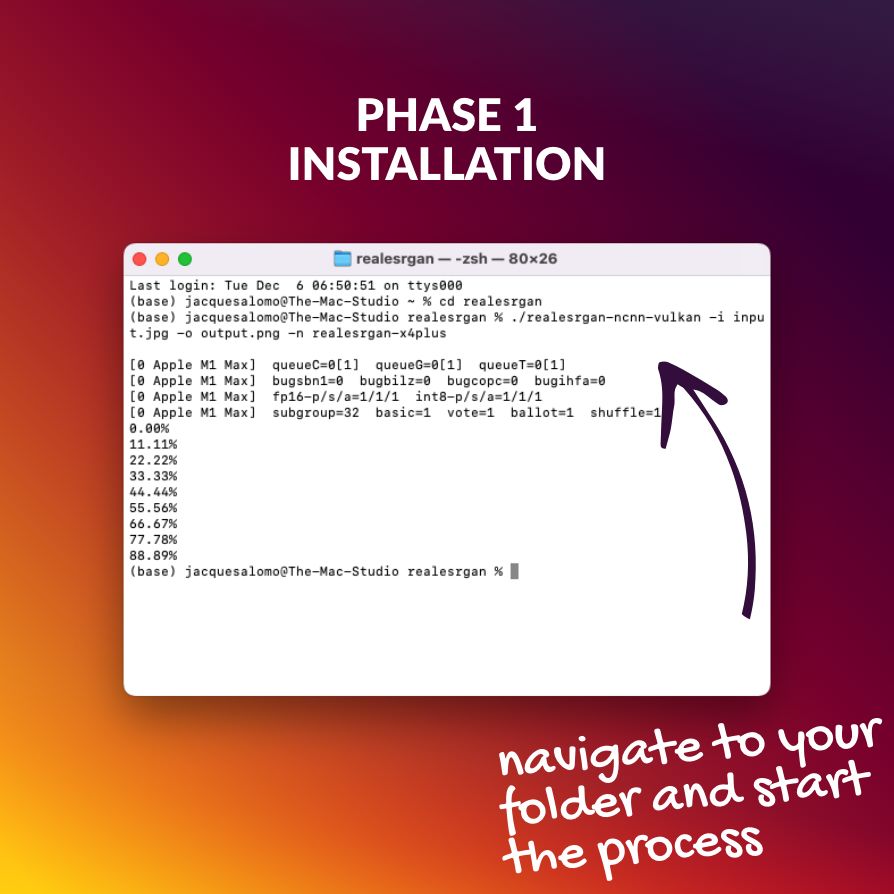
👉 Test the upscale ability by starting Terminal (CMD+F and writing 'Terminal').
👉 Navigate to the folder you placed realesrgan in with the following command: cd realesrgan (I placed the file directly in my local directory - for you, it could also be cd myAImodels/realesrgan. So adjust the file path accordingly)
Now write the following command to test if it works. - make sure that an input.jpg is ready. Comment: ./realesrgan-ncnn-vulkan -i input.jpg -o output.png -n realesrgan-x4plus
🚫 Trouble Shooting
If you encounter the problem that *macOS cannot verify that this app is free from Malware*, you have two options to try:
1. Choose *Apple menu* > go to *System Preferences* > choose *Security & Privacy* > tap the General tab > click the *Open Anyway* button.
2. OR run the command: sudo spctl --master-disable to disable Gatekeeper. (But I would advise the first one)
✅ Phase 2 - Automation
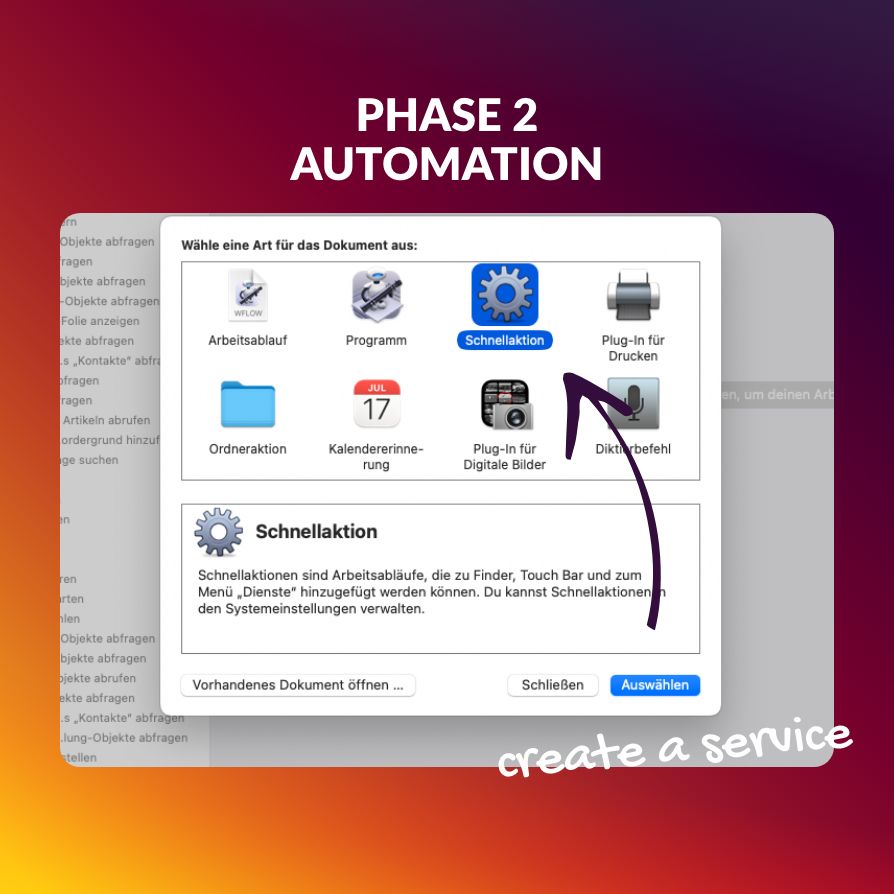
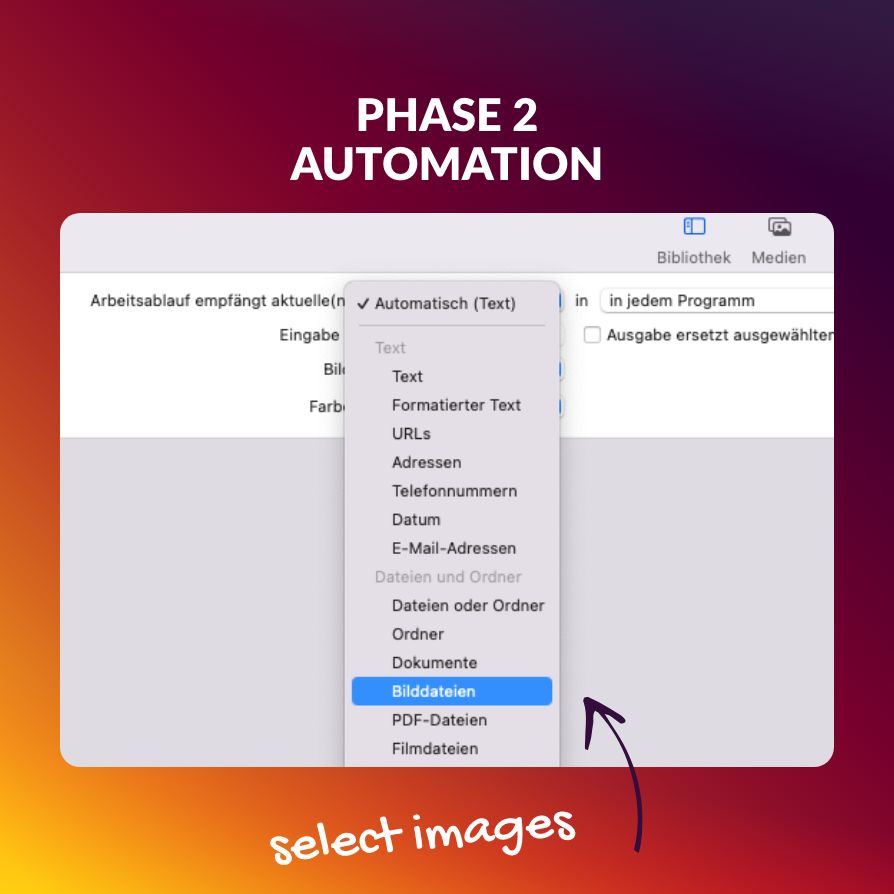
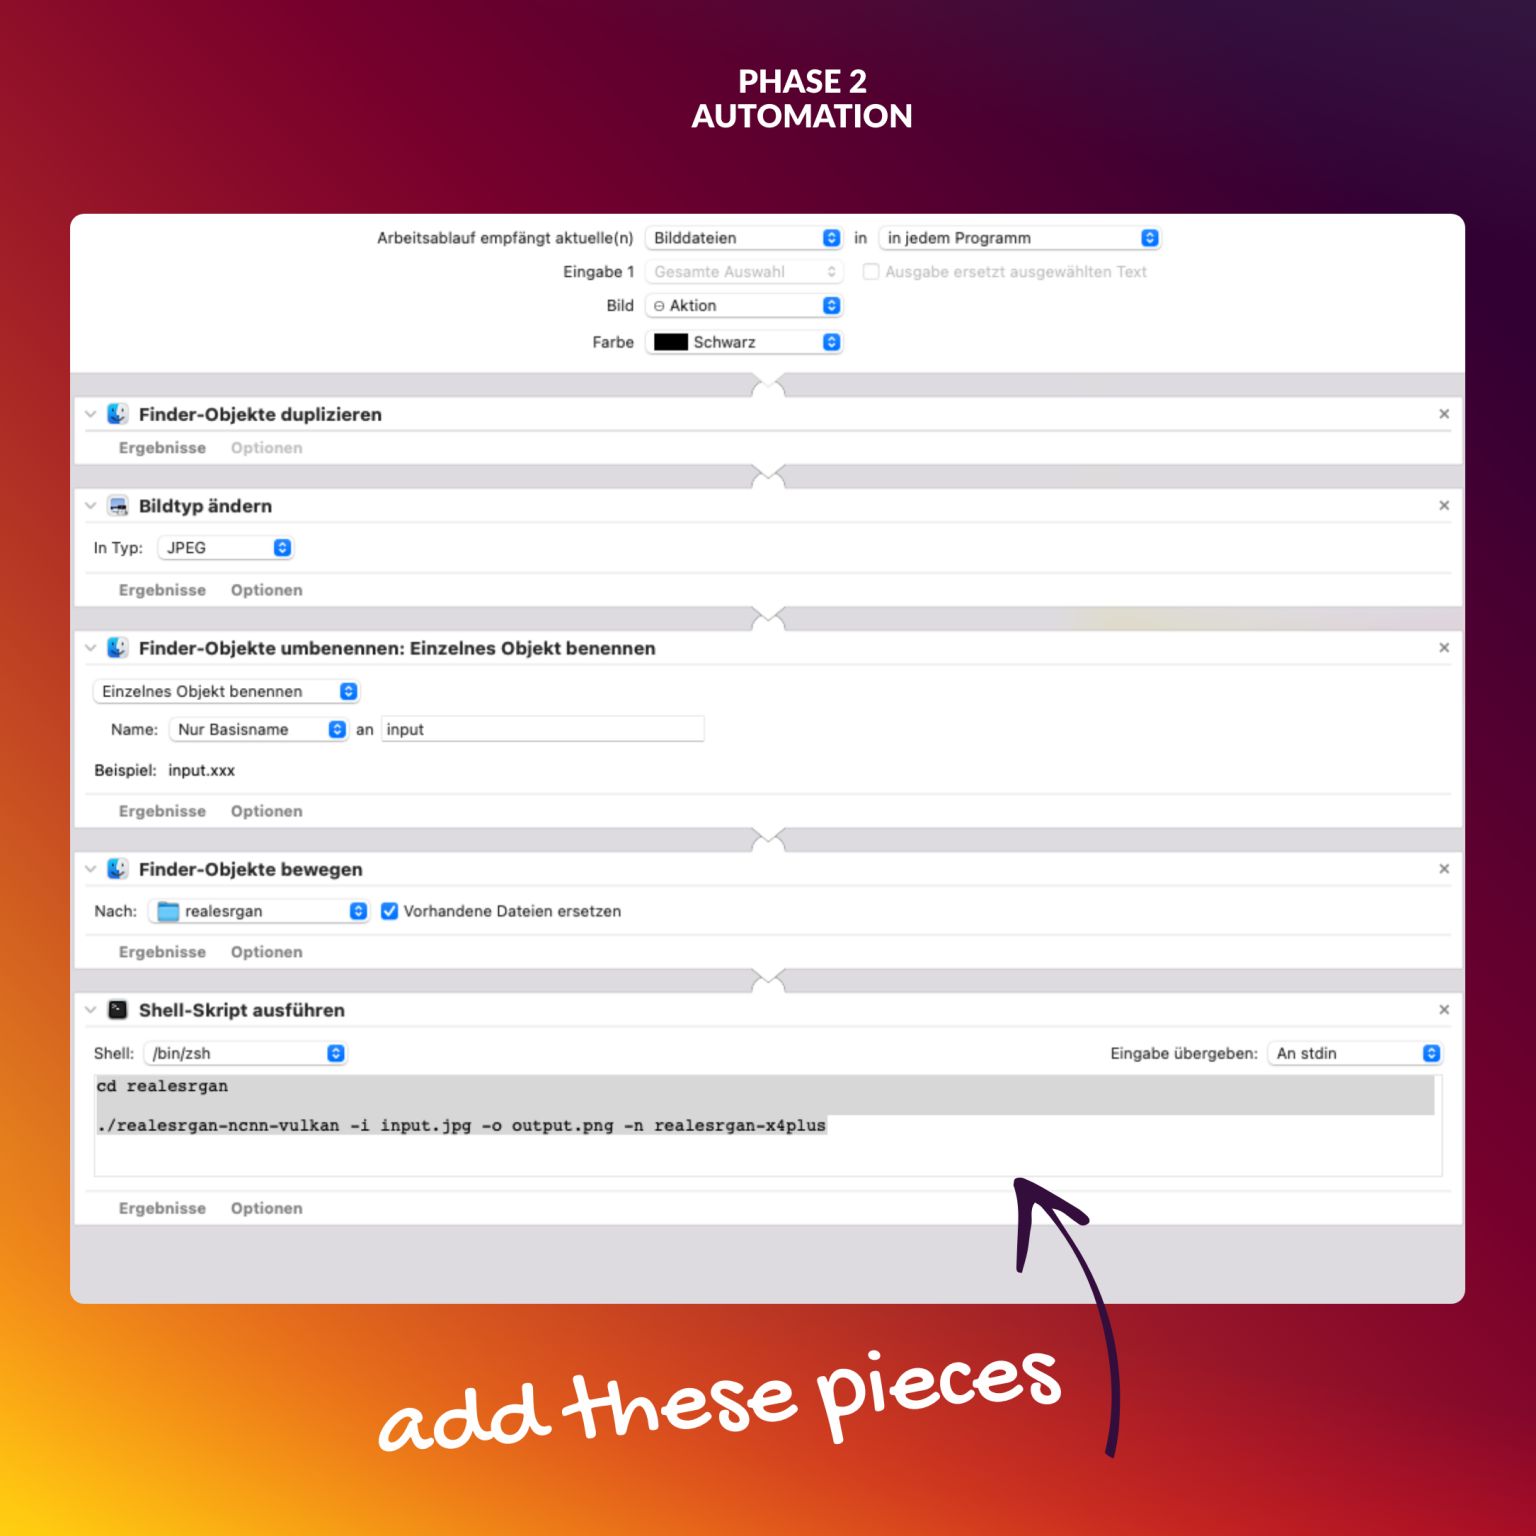
Open Automator and start a 'Service'. At the top select 'images' (sorry it's all in German on my system). Now add the following pieces for your automation from the left menu:
1-Duplicate finder object
2-Change Imagetype (add to jpeg)
3-Rename finder object (add 'input' here
4-Move Finder object (add your realesrgan folder here)
5-Shell-Script (add this code "cd realesrgan
./realesrgan-ncnn-vulkan -i input.jpg -o output.png -n realesrgan-x4plus")
This is the same code as before.
Save your automation in this location /Library/Services. If you cannot see your Library, just use the KeyCombo "Command + Shift + ." (yes, that's a dot in this combo).
You can try out your new automation on any image file now. Just right-click and head over to 'Services - in German, they are called Schnellaktion'
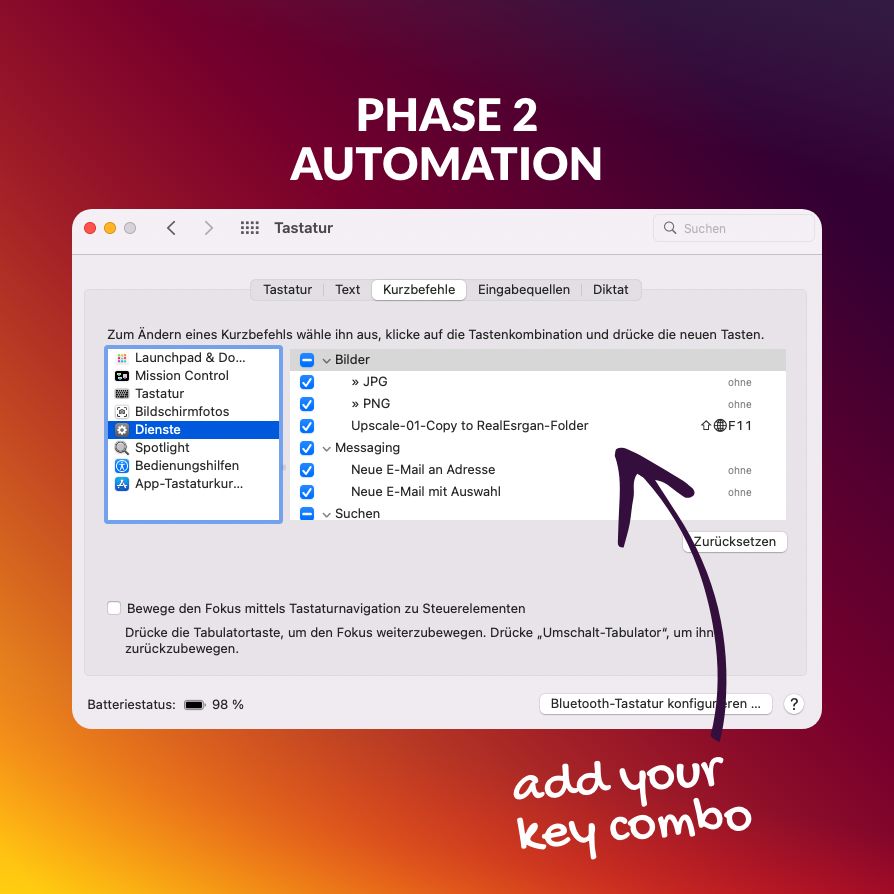
Open System Preferences » Keyboard » Shortcuts and there on the left side Services. Here you will find your automation in the images tab. Not you can click on the right side to bind this automation to a key combo which can be pressed if an image is selected in the finder.
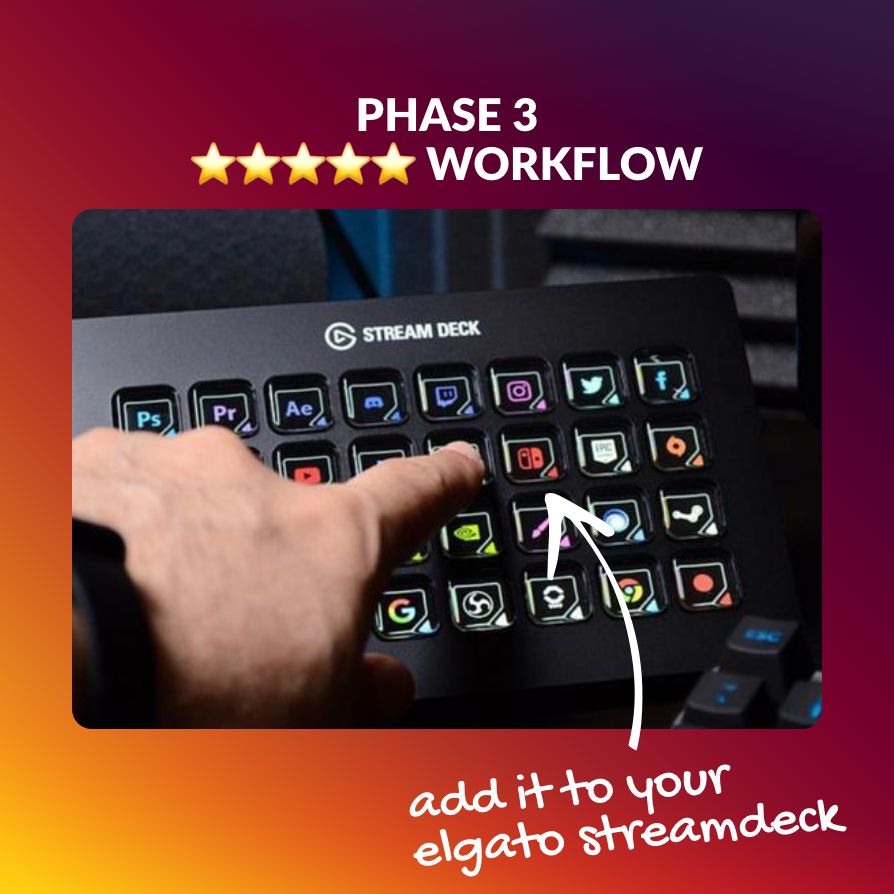
✅ Phase 3 - ⭐️⭐️⭐️⭐️⭐️ Solution
I use an Elgato Streamdeck for my everyday work and bind the key-combo to one button. So it's a 1-Click Upscale - at least for me ;)
You can follow all Jacques tips and tricks for more AI-related articles and visual experiments. https://lnkd.in/esb3PH9W


Related Posts
Tools of the Trade (Video Content Edition)
Apr 06, 2023
Notion 2.0
Apr 06, 2023
The complete Reference Sheet
Feb 16, 2023